

While Maximo Manage within the Maximo Application Suite (MAS) will certainly look familiar to Maximo 7.6.1.x users, there are several nuances that come along with IBM’s latest innovation. One such change is a slight difference in user creation and authentication for Maximo (Manage). With the advent of the latest version of MAS 8.8/Manage 8.4, the user creation process has been modified, and to alleviate any unnecessary confusion, I’m going to show what you need to know and walk you through this new process.
From the start, one change effective with MAS 8.8 is that a display name and a User ID are created when a user is created in MAS. The User ID is a primary key that identifies a user, and it cannot be changed after the user is created.
Now, let’s create a new user in MAS in 11 simple steps:
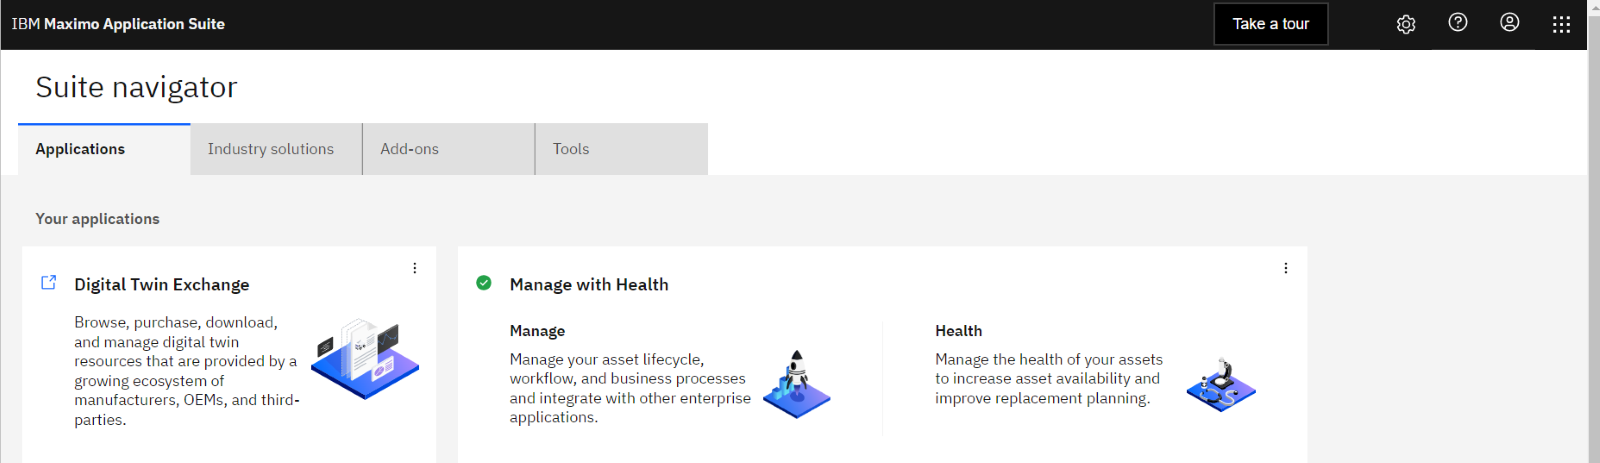
#1 - Sign in as Maxadmin
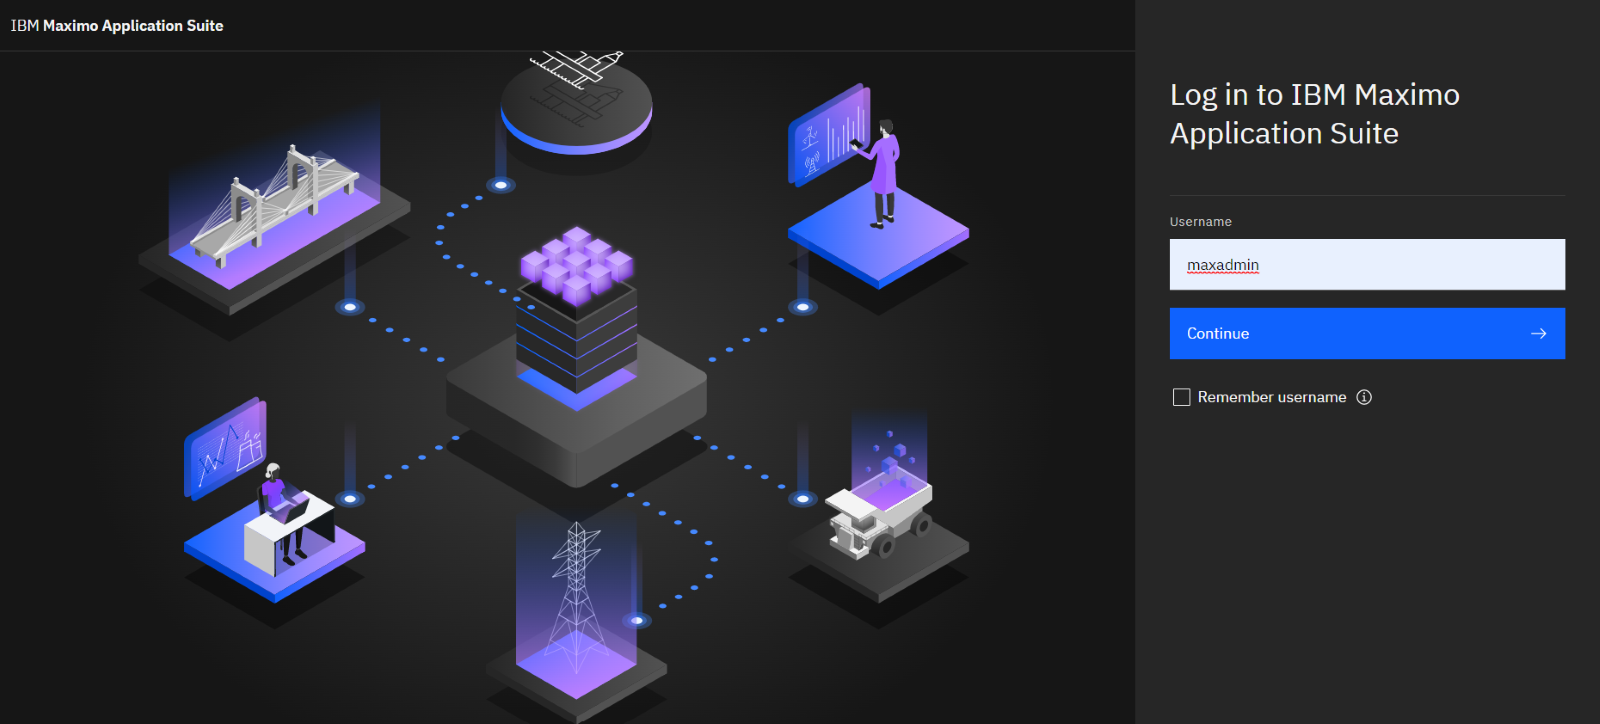
#2 - Click on the  Administration Icon
#3 - Select the Create User Button

#4 - Fill in the desired Display Name, User ID, and Email address. An option is available to make a user's Login ID the same as the unique User ID or to create a custom Login ID, such as an email address. Login IDs, unlike User IDs, can be updated later if necessary.
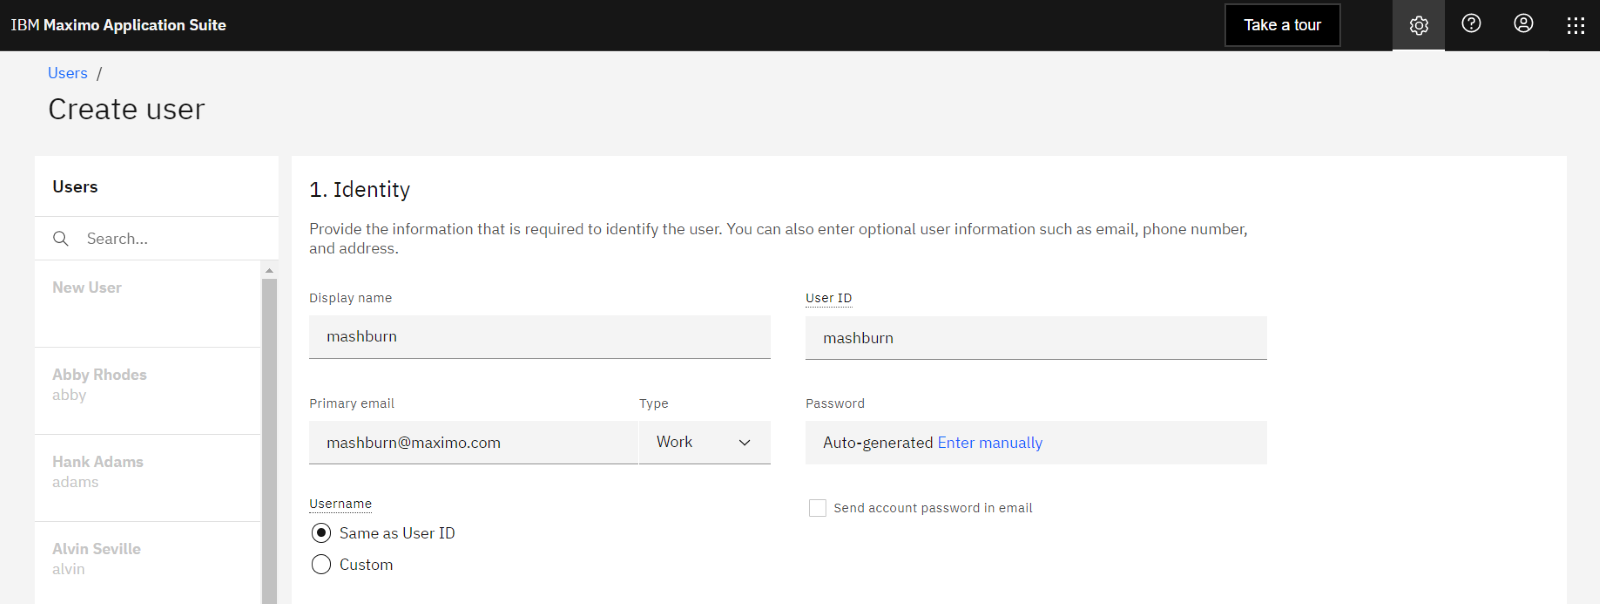
#5 - Click on the Password field and link to enter manually or auto-generate the Password.
Note 1: Passwords are required to be 15 characters long with Local authentication.
Note 2: If using an integration to Lightweight Directory Access Protocol (LDAP) / Single-Sign-On (SSO), this is where you will now make use of that integration at the MAS Level.
MAS supports local user authentication by MongoDB as well as authentication by LDAP or Security Assertion Markup Language (SAML). Regardless of where authentication is managed, access management and user privileges authorization is managed by MAS.
Local authentication by MongoDB - If no other authentication method is configured, user authentication is performed by MongoDB, which acts as the default user repository. No additional configuration is required. With local authentication, MAS provides SSO for all fully integrated applications.
Optional: LDAP authentication - With LDAP, the user authentication is managed by your LDAP server. You can configure your MAS environment to use your own corporate LDAP server. \With LDAP authentication, MAS provides SSO for all fully integrated applications, and you can also configure external applications to use the same LDAP server. When LDAP is enabled, you can select to use LDAP authentication when creating new users. The User ID of the MAS user must match the ID of a corresponding LDAP user.
Optional: SAML authentication - With SAML, the user authentication is managed by your SAML server.
With SAML authentication, you can set up SSO for MAS as well as any external application that supports SAML and is accessed from the same browser. When SAML is enabled, you can select to use SAML authentication when creating new users. The User ID of the MAS user must match the ID of a corresponding SAML user.
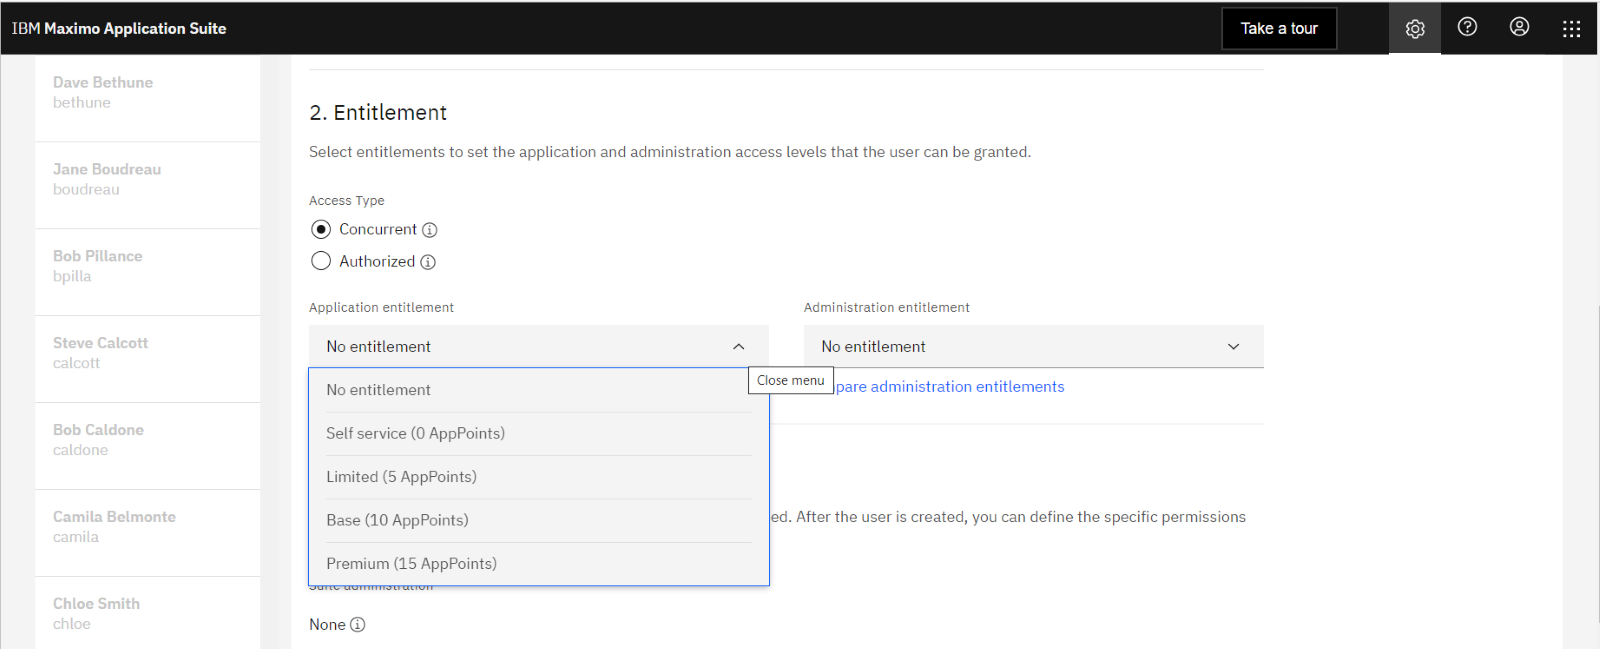
#6 - Set the Entitlement Level (Base = 10 App Points)
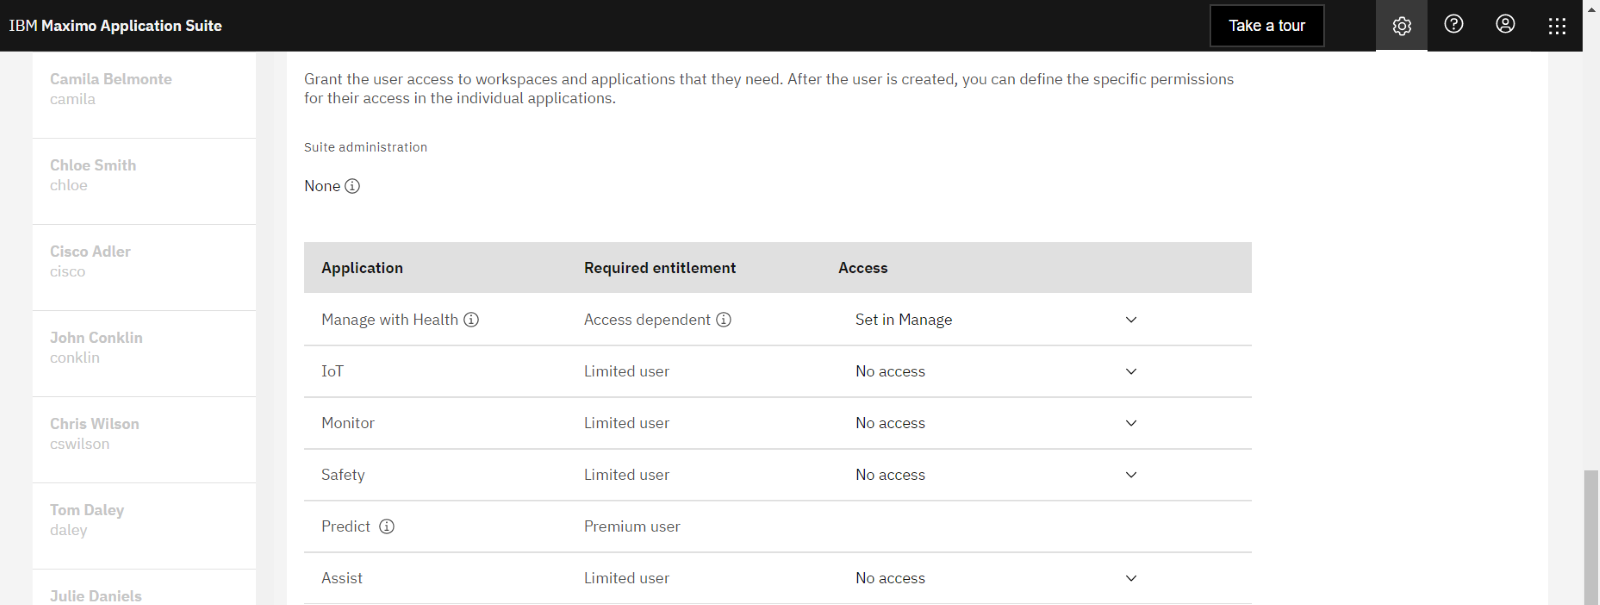
#7 - Grant Access to the Suite Applications
#8 - Click on Create Button
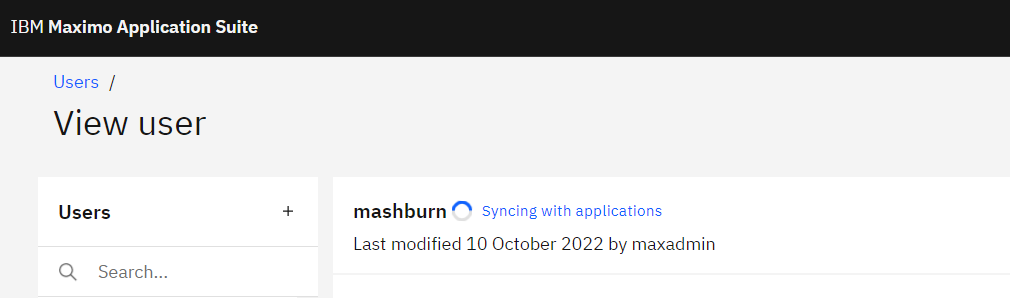
#9 - MAS synchronizes with all the applications within the Suite
When user synchronization occurs, the Login ID that is specified in MAS becomes the Login ID in Maximo Manage, and the User ID in MAS becomes the User ID and the Person ID in Maximo Manage as well.
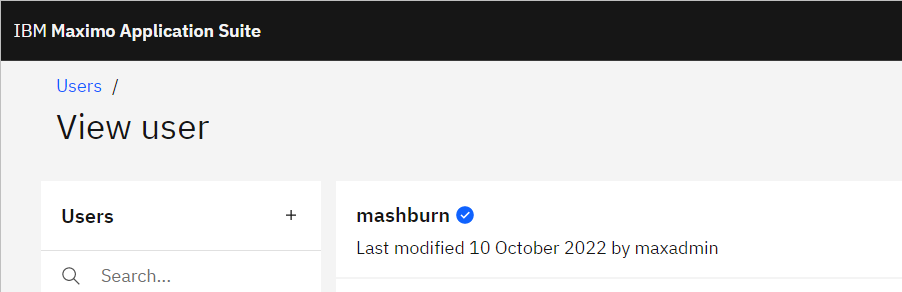
#10 - After the sync completes, the status indicates success with a blue check. Once verified, use the Application Switcher icon  to move to Maximo (Manage).
11# - Access the Security à Users application
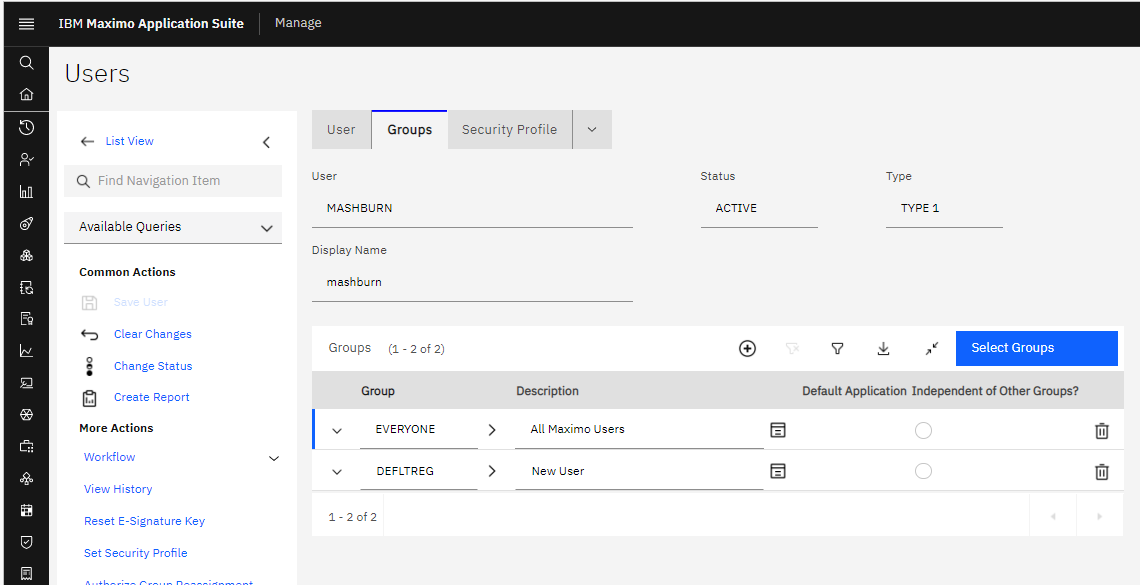
In this example, the user was created in Maximo (Manage) with just the default security groups. As in previous versions of Maximo, additional security groups can be added to the user here.